The Steps Professionals Take To Paint Your Interiors
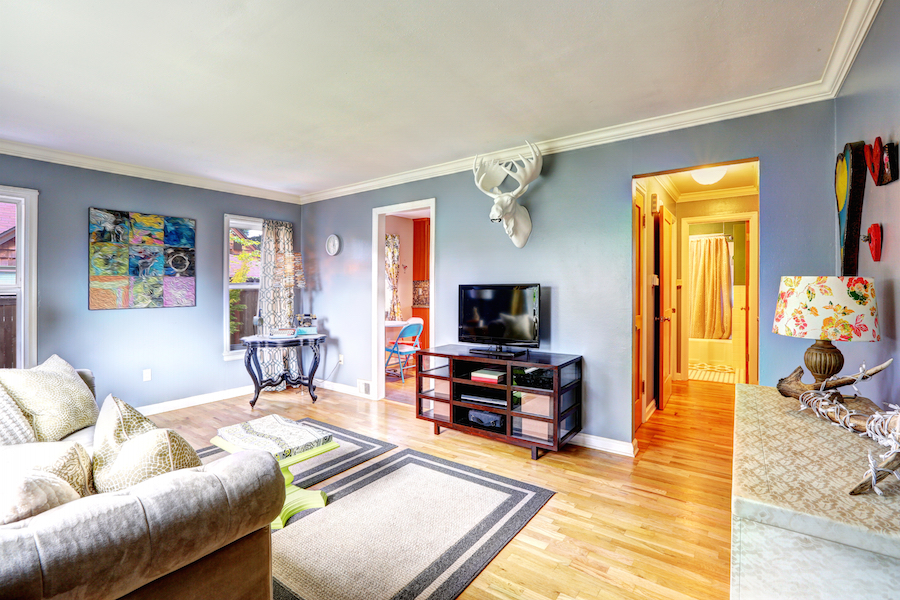
Interior painting is an easy way to change the look of a room or improve the visual flow of your home. It may seem like a simple DIY project, but it’s best to hire professional painters who have the tools, knowledge and experience to get it right the first time with minimal mess. Here are the steps you can expect them to take when they come to your home.
1. Protect Space
You are likely to see the painters bring in drop cloths or tarps before they unload the paint and brushes. These supplies help protect your floors.
2. Fix Flaws
It’s important for the paint to go on each surface smoothly, so before any color is applied, the ceilings, walls and trim must be cleaned and prepped. Holes must be filled and the filler must be given time to dry completely.
3. Paint Ceiling
When it comes time to apply the primer and paint, the professionals are likely to start with the ceiling. That way, if anything drips or runs down the wall, they aren’t ruining anything that they won’t paint over later. Ceilings require little or no brush work because any overlap will be covered by the work painters do on the walls.
4. Paint Walls
After the ceiling has dried a little, the interior painting crew can start on the walls. Most of the wall can be painted with a roller, but you’ll notice that the professionals leave a few inches from any edges or features such as vents or light switches. These areas require more care and thus must be painted with brushes.
5. Paint Trim
The last step is painting the trim at the edges of the wall. Most trim is painted carefully by brush work.
The interior painting process may take a little more time than you anticipate, but a job well done cannot be rushed. The professional painters you hire know how to paint your walls so that they look as beautiful as you imagined they would.